Thoughts on Letting Go - how easy is it really?

yeshi-kangrang-P-2CxtQvUQY-unsplash.jpg

How often have we heard someone say - especially in a yoga class, and maybe I’ve said it myself - “simply let go of what no longer serves you”, or “just get over it” (hopefully not in a yoga class, and definitely not from me!). The reality is that when we are grappling with self-limiting beliefs, old trauma, negative mindsets, or just feeling down in the dumps, it’s never quite as easy as simply letting go, as though you were tossing something into the trash. There’s a whole plethora of things tied up with this.

First of all, the statement “just let go of what no longer serves you” can smack a little of spiritual bypassing. If you’re unfamiliar with that phrase, spiritual bypassing is a "tendency to use spiritual ideas and practices to sidestep or avoid facing unresolved emotional issues, psychological wounds, and unfinished developmental tasks" (taken from Wikipedia).

The suggestion is that whatever someone is holding can simply and easily be released, but makes massive assumptions on what an individual might may be dealing with, minimises their experience or even worse, implies that if you’re not able to “just let go” you are failing, andare actually to blame for not moving forwards in personal development. If you can’t “just release what no longer serves you”, then clearly you are choosing to stay stuck. For me, this is massively unhelpful at best, and at worst, potentially harmful. The last thing someone dealing with painful issues needs is to feel more culpable or a failure for carrying hurt, especially in a yoga class.

In a way, yes, sometimes we do choose to hold on to certain things, because change also invites us into the unknown - better the devil you know - and carries doubt around whether we can move ahead without the familiar load we’ve been carrying. That doesn’t mean that we are failing. We can’t “just let go”, maybe because we aren’t ready yet.

My belief is that, firstly, we cannot let go of something if we don’t know what that something is. We might have a sense of feeling heavy, or sad, or many other things, but until we shine a light into the corner, or fully open up that cupboard, look under the bed and pull that emotion out and name it and see it clearly, we can’t fully identify it. That bit can be quite scary, and we look at it in the second week of the Prepare to Unfurl programme. Once it’s named though, there is a real power in confronting what we carry within - sometimes even this act begins the process of breaking down its hold on us. It’s like, “I see you. I am not scared of you. I see you, and you are no longer in the shadows.”. This part takes doing without emotion, just simple acknowledgement. There’s more, but I’ll come onto that in a moment.

Secondly, we need to come to a place of acceptance and understanding that every single thing in our lives has somehow shaped us. Some things have tested us, challenged us, brought out the best or the worst in us, brought us to the edge of our joy as well as our unhappiness - but every single thing has forced us to show up, and moulded us into who we are. If the lessons have not yet been learnt from that thing, perhaps this is what makes it harder to release it. There may be another energetic shift that’s necessary internally before we are able to let go, and even the decision that might spur you into making an active choice to change a certain behaviour or mindset is instigated by a specific energy.

At this time of year, I love the magic of autumn, as the leaves change colour and are slowly released to the ground. The trees draw their energy inwards, and what they no longer need, they release. It might seem effortless, but perhaps it’s because we are more complicated beings. Even plants though sometimes hold onto things that hinder their growth - that’s when a bit of pruning can allow something to flourish, and the act of pruning is an active one!

Frequently in yoga classes I teach, I tend to suggest that we put as much of what we are holding into big carrier bags or suitcases, and rest them down to give ourselves a break from gripping onto them and lugging it all around. The idea is that the contents aren’t going anywhere, but at the end of practice, when we go out into the world, and have to pick up those bags or suitcases again, hopefully we can carry them slightly differently, change the way we hold them, or maybe begin to take a few things out.

Here’s an exercise to try, to be ABLE to confront what you’re carrying and work out whether it’s time to begin letting go.

A - Acknowledge. Greet yourself - by name - and notice what you are feeling. Allow emotions to rise and imagine a light going on, so that you can clearly look around and see what is there. Calmly say “I SEE YOU -“ and name it.

B - Breathe into it. Accept that the emotion is there, without judging or blaming yourself for its presence. Are there places where your breath can soften a bit, can you breathe fully while acknowledging what is there. Be super gentle!

L - Lovingly, with compassion, but also with strength, ask if it is ready to be released? “XXXX, are you done?” By asking if it’s work is completed, this sends a message that it may be time for the emotion to loosen its grip on you. The most important thing, is that you speak with love, gently, compassionately, but also firmly. You’re not taking any shit! “XXXX, are you done?”

E - Exhale, and repeat 5 times - “XXXX, I release you, you are no longer needed”

After this, lie down for a few moments, or stand with your feet on grass or earth, and visualise whatever you have asked to be released seeping into the ground beneath you. Observe your breathing, and your body. What comes up? Remember that this is the beginnings of a process, so there’s nothing wrong if you don’t feel 100% transformed after. Come back to doing this daily for 5 days, perhaps journalling afterwards to notice how you feel.

When you’re ready to move forwards, when YOU, your spirit is ready - not your ego - then you will, having learnt all you need to, having shone a light into the darkest corners, and acknowledged all that you are, with compassion and love.
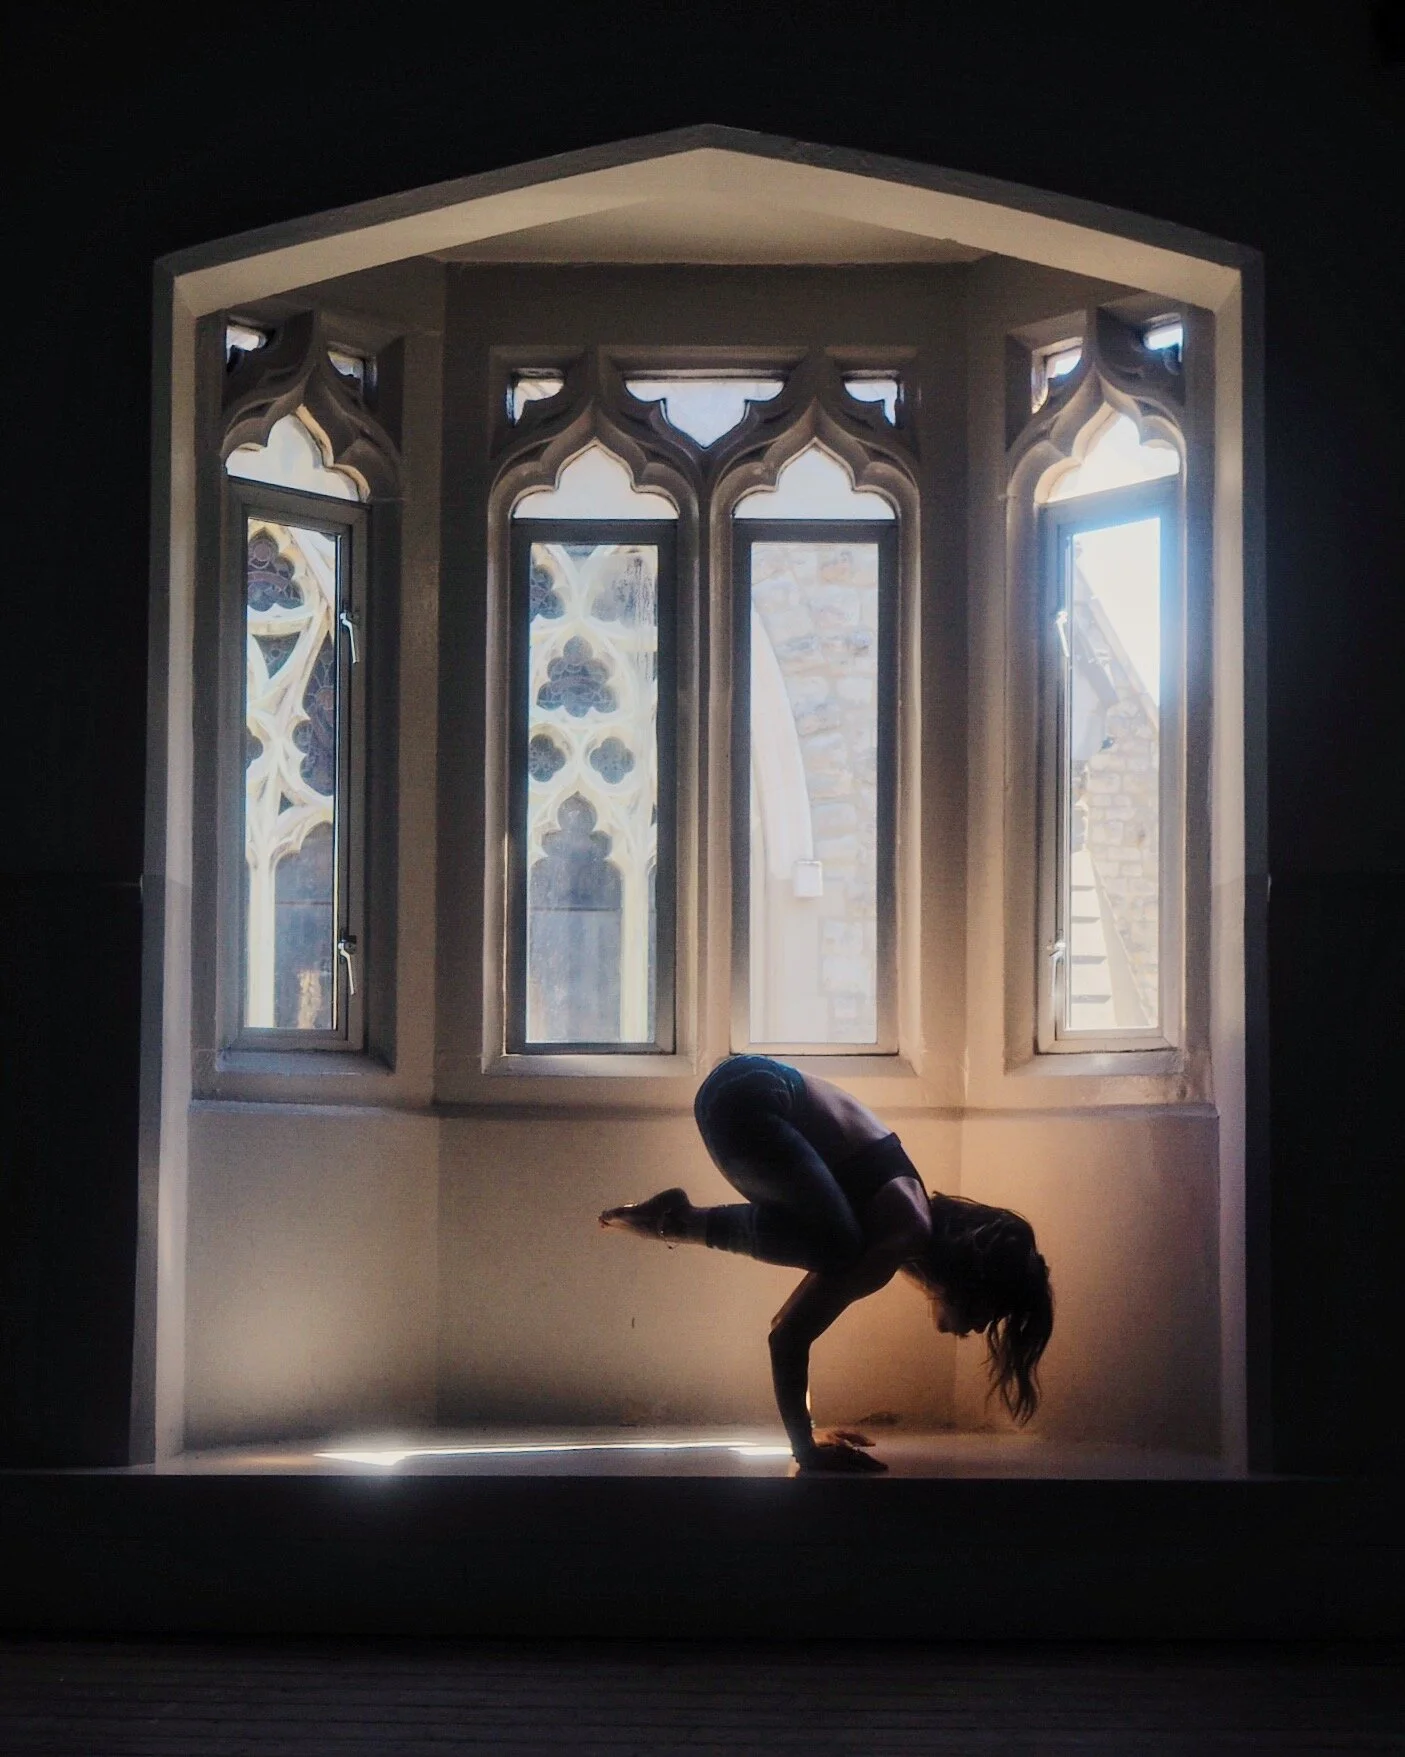
A need for focus and a tricky bird - Kakasana, Crow Pose

A need for focus and a tricky bird - Kakasana, Crow Pose

Discover the myth and story behind Crow pose, one of the most popular arm balances in yoga. Crow pose is often mistakenly called Bakasana - which is actually Crane pose, the progression of Crow pose where the arms are straight. The Sanskrit name for Crow Pose is Kakasana - very onomatopoeic! What is the story behind it, and what can we learn from this pose and the mythology?

Are you a yoga caterpillar?

Are you a yoga caterpillar?

It may perhaps be a bit of a cheesy and obvious metaphor, but I often refer to certain yoga poses as caterpillar poses… we take time to do the work, and to unfurl into them. Our lives, and our yoga practice are not much different.

Did you know that a caterpillar lives for around 10-14 days before it begins to create its cocoon. It will stay in the cocoon for up to 21 days before its “death” as a caterpillar and rebirth to emerge as a beautiful flying butterfly or moth, which may live for up to a year.

That means that in relation to its lifespan, when it goes into a chrysalis it essentially takes longer to undergo its transformation than it had been alive before

5 tips on how to start a home yoga practice - lockdown or no lockdown!

First of all - why? Why do you want a home yoga practice? Everyone has a myriad of reasons - it could be because you want to have more of that yoga bliss and the benefits of a regular practice and time or finance is an issue, or perhaps you want to integrate your yoga practice into your life, or want to explore yoga in your own space.

If your why is because you feel you should, you may not stick to it… but if your why is because you feel a real need for more regular yoga practice, and for the peace and joy it brings you, then that already makes it far easier! I often say that getting into yoga is like going into a messy room and discovering all the treasures in there.

But how exactly do you start and establish a home yoga practice?? With all the best will in the world, it can be hard for anyone to create a regular yoga habit.

I get asked this question frequently, so here are some tips to starting and - crucially - maintaining a home yoga practice!

  1. Out of sight, out of mind - keep your mat where you can see it. If it is neatly tucked away in a cupboard, chances are it will rarely make it out! Have a dedicated yoga space - this could be in a shared space, where you might need to push lego or laundry out of the way, or perhaps a quiet spare room if that’s available to you. It doesn’t have to be the perfect spot, it just has to be enough space to roll out your mat and ensure that it is safe so that if you wobble you don’t risk hurting yourself. It can be nice to be somewhere with natural light, but it’s not essential. If it isn’t possible to keep your mat rolled out, then roll it up and lean it against a wall or pop into a nice-looking wicker basket. I’ve bought some from Oxfam, to keep my mat(s) and props in and they remain in view, and also easy to pull out for a quick yoga moment.

  2. Get decent kit. Now, you don’t NEED expensive kit to practice on - you could practice without a mat at all, however the reality is that having a surface where you won’t be slipping and sliding, or wobbling all over the place will make the experience much more pleasant.

    The very first yoga mat I ever bought was from Agoy (a brand which I’ve randomly discovered is owned by one of the parents at my daughter’s new school! It really is a small world!). Avoid the thick squidgy mats, which are more for pilates or floor work - they will make postures on one leg extra difficult! 3-5mm is a good thickness. Travel mats are thinner for portability.

    If you tend to have sweaty hands or feet (my hands often end up sliding on traditional mats), you have some options -

    *I wrote a review on mats on my Facebook group about mats a while ago, info at the end of this post.

    • Sticky dot towel (that’s what I call them!) - Yoga towels or Grippy towels are a lifesaver over a basic mat, and for hygiene over studio mats as well as being very affordable. I would really advise making sure that you get one with the sticky little dots on the reverse. These help with grip and avoid the towel sliding all over the place during practice which is off-putting. You can find them in lots of places - I got mine originally from Yoga Matters and after 20 years washing after every practice, I haven’t lost a single dot!

    • Non-slip rubber mats have become very popular since LuluLemon began doing them, swiftly followed by Liforme, and a plethora of other brands doing much the same thing with different designs. They are a fair bit pricier than a regular mat, but personally I have found them transformative. I’ve compiled a list of brands I’ve tried and recommend in THE LIST (with discounts at time of writing if you use the codes mentioned in the doc).

    • Cork mats are another option, and if you like the idea of practicing on a more natural material, cork is definitely an option. I use a cork mat regularly and would just caveat that initially it can feel a bit slippery if your hands aren’t damp - easily fixed by wetting hands under a tap if you choose cork.

    • Have props on standby - foam yoga blocks are cheap and cheerful and easy to come by, but if you don’t have a block then a big thick book, like a dictionary or a Harry Potter tome or similar will do just fine - or even a water bottle. I like to have 2 blocks near me, and I find this extremely useful for certain poses. A strap is also a good idea - substitute with a scarf or belt or even a piece of clothing - and a blanket for rolling up or using to cover up for relaxation.

  3. Claim it and be grateful for ANY time on your mat. Claiming your practice time is important. In fact, it’s vital. I know that life is insanely busy, but we deprioritise ourselves - we make time for errands, doctor’s appointments, etc etc, but we won’t make an appointment to stick to for our wellbeing?! Make an appointment, and stick to it. Let others know you’re not available during that time, OR simply acknowledge them and continue to be in your practice. I often have kiddy conversations while doing my practice, and eventually they realise I’m busy and float off. How long you spend once you’re on the mat is irrelevant as long as you are happy with what you’ve done.

    If you get on your mat and don’t manage a full hour - then please don’t give yourself a hard time! In fact, I would even suggest that you don’t pay attention to the time at all! The fact that you get on your mat at all and focus on your breath is yoga, regardless of how long you’re there for. You may even find you want to simply sit in meditation, childs pose or lie in savasana. This is yoga practice too. If you want to move, you have lots of options.

    • For precorded yoga classes, you could pop on a YouTube video (check out my channel here), or sign up for one of the many online yoga apps or platforms like Movement for Modern Life, Gaia, AloMoves, OmStars Official etc. It’s also worth checking in with your favourite studios and teachers - or explore new ones - as many now have pre-recorded content of online yoga classes available. The beauty of online classes is that you can find different timelengths, and practice with anyone in the world, as well as explore different styles and teachers!

    • For live streamed classes, some are available on social channels like YouTube, Facebook or Instagram Live - however note that the instructor won’t see you or be able to give you guidance. Do search out and follow your favourite yoga studios and yoga teachers online or on social and check their online schedules for online yoga classes. You get to have them in your home, as well as supporting them! Win win!

    • Live streamed online yoga classes where the instructor sees you and interacts with you to give you guidance can be really helpful to stay connected and also for getting specific pointers when the teacher sees you, especially for beginner classes. All my online classes are right here if you choose to practice with me.

  4. Sometimes a plan can be helpful. If you want to move instinctively without having someone tell you what to do, I wholeheartedly recommend tuning into your body and doing just that. BUT, students often tell me that they become bored, distracted or just not sure what to do next. Teachers spend a lot of time thinking about and preparing sequences, so it’s no great surprise that it may feel challenging. A great place to start after you warm up is with the Sun Salutations - series A and B. You could do 3-6 of each. I’ve created a guide, a mini-workshop for the Sun Salutations which you can find here on YouTube. If you feel confident enough, perhaps you may move on to adding some postures in to create a simple sequence. I would mention though that when teachers plan a sequence it is usually planned along a specific theme and/or to prepare the body for a peak pose, with an awareness of the anatomical requirements of a pose. I would definitely not recommend doing this as a beginner and until you have a decent understanding of the body’s functionality. If you feel ready to explore a little, a basic vinyasa sequence could look like this:

    • Warm Up

    • Sun Salutations A x 3

    • Sun Salutations B x 3

    • Standing poses (2-3 on each side, with a vinyasa before doing the opposite side)

    • Standing Balance pose (1 or 2 each side)

    • Seated poses

    • Core poses (boat pose)

    • Backbend and counter pose

    • Inversion if you choose and counter pose - eg childs pose. Make sure to be safe!

    • Savasana - don’t under estimate savasana or skip it. This is where your mind and body absorb all that you have done, so like every other posture, give it its time.

  5. Stillness. Embarking on a meditation practice can be really powerful and healing for you overall, and has scientifically proven results to reduce stress hormones. There are a plethora of books, apps and online resources to help guide you to discover the best way of meditating to suit you. Headspace, Calm, Gaia and The Chopra Centre are just a few apps that spring to mind and that I have tried. I come back time and again to The Chopra Centre meditations when I feel the need for a guided session, and Mind Unlocked by Niraj Shah is also excellent. If you want something from me, I have a short guided meditation on Empowerment right here if you wish. But again, do explore, to find what works for you. As with your practice, try not to become frustrated with where you meet yourself right now, or how long you can spend in meditation. It will change over time. It always does. Begin by simply finding a comfortable place to sit where you can be undisturbed, and don’t try to force yourself not to think. I love this quote by Shunryu Suzuki, a Buddhist monk, paraphrased as - imagine your mind as a house with a front door and a back door - allow the thoughts to pass through without inviting them to stay for tea.

I hope that these tips are helpful - let me know in the comments below!

With joy xxx

Zaz

(I’ve also added in below the mat review I did a while ago)

Overall, I find the smooth non-slip smooth mats excellent for practice, no distraction or dramatically reduced risk of injury with hands slipping. They are long wearing and comfortable. They can be heavy to carry around though. Avoid a mat more than 7mm thick as they are to bouncy for the standing balance poses. 5mm is the standard thickness for a good regular use yoga mat. You can also get a travel mat, usually 1-3mm thickness and of course cheaper. I don’t recommend these for regular use on their own, as they can be hard going - but they can be laid over a basic mat to give you the grip at a much lower price, plus you would have a mat to take away with you on travels, so no reason to miss yoga 😂😍!

LuluLemon I believe originally came out with the smooth mats, and then Liforme became hugely popular due to their design. The smooth mat texture is extremely good for grip. There is virtually no sliding at all and the Liforme design is also created to help with alignment for hand and foot placement. All this comes at a price and the Liforme is around £100 via multiple sources, including Amazon. The travel mat is a bit less.

Kin Yoga Mats is a brand created by a yoga teacher (a local West Londoner in fact). These are also smooth surfaced. The mats are £75 for the standard mat via https://www.kinyogamats.com and they also do the travel option which will be cheaper. The standard mat is a bit thicker than the Liforme but I have practiced on the Kin mat and it is very good also, not too bouncy. If wanted, you can use the code ZAZ10 for 10% off the price. (I don’t gain anything, just sharing).

Lululemon and Sweaty Betty both also sell smooth mats - £58 at Lulu, £65 at SB. I think that there are discounts to be had by signing up to their mailing list, and again check for the travel option if you want to double up with the travel mat over your current mat.

Shoutout for cork mats as a more natural alternative - they are super smooth, antibacterial and microbial, however honestly, the grip is not as good as with the smooth rubber mats. I have worked with a brand called The Samadhi Initiative, and they do personalised mats at around the same cost as the Kin Yoga mats. For a personalised mat (your choice of design, words can be added onto it), it’s a good price. Again, code ZAZ10 gets 10% off - although I should mention they ship from Canada, so add on the delivery. Their website is https://thesamadhiinitiative.com